Configure
Now that the plugin has been installed in your Expivi account and Sana shop, next, let's look at how to connect products between Expivi and Sana.
The way Expivi connects a product to Sana works through Expivi's presets. Only one Expivi product can be linked to each product in Sana.
In your ERP system, products that should be configured with Expivi should have their "Configurator Model" set to "Expivi" in order for Expivi to be allowed to configure that product.
When no preset is made for the product, the Sana product page will show a simple "Add to cart" button, not allowing you to configure the product.

To link a product, find the Sana Item No., these can be found under "Product -> Product pages."
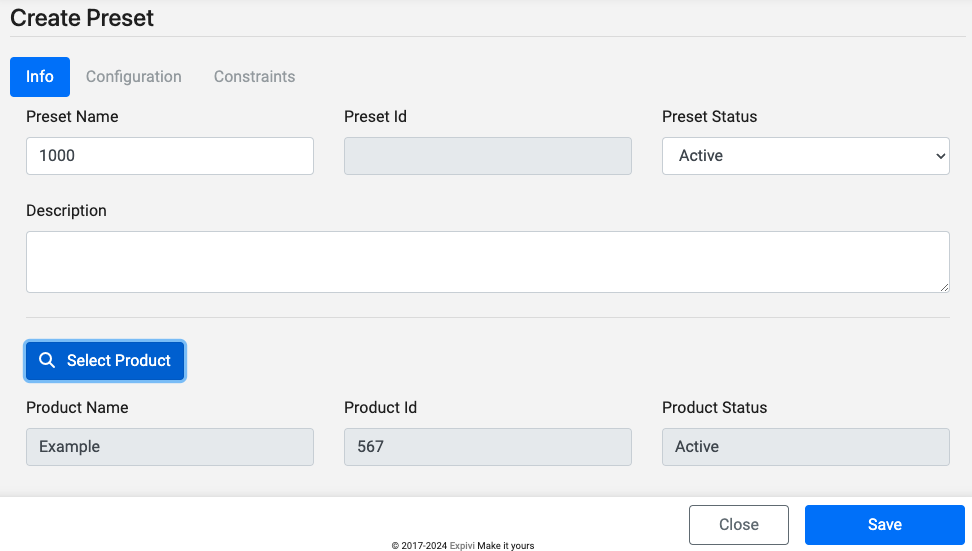
Next, inside the Expivi Backoffice create a new preset.
For the "Preset Name" fill in the Item No. from Sana, and find the corresponding
Expivi product for that Sana product and create the preset by pressing "Save."
Learn how to create presets.
If all is done correctly, refreshing the Sana product page will show a "Configure" button instead of "Add to cart."
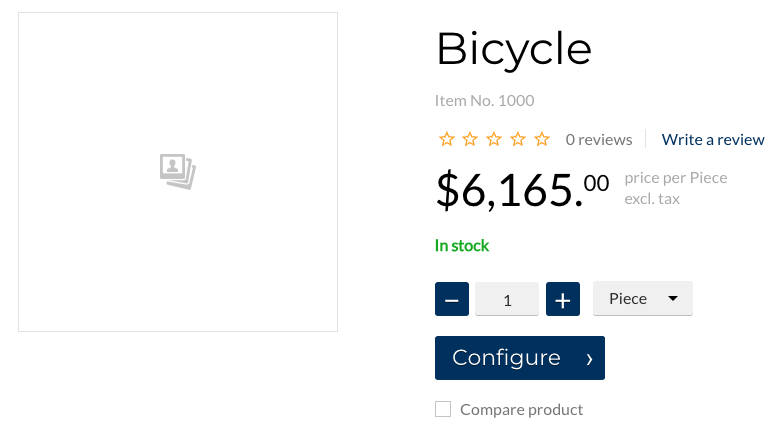
And that is all; customers can now configure their products through Sana Commerce.