Installation
Expivi Theme
Since Sana opens an Iframe, Expivi provides the webpage where products can be configured with. Therefore, Expivi has developed a theme for your Expivi account that needs to be uploaded and linked to a domain for the Sana plugin to function properly.
Firstly, download a copy of the theme from Expivi's version control system.
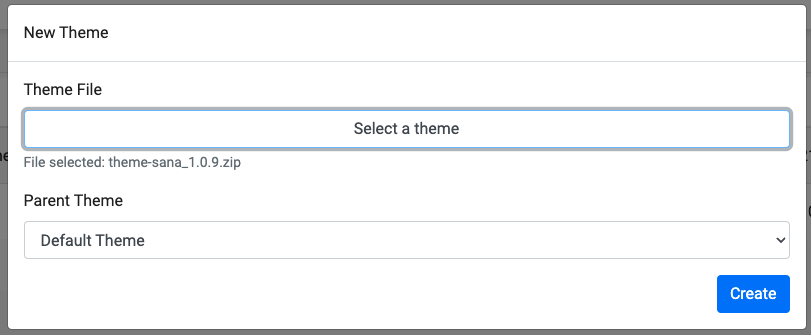
Download the latest theme-sana_x.x.x.zip.
Then, navigate to the Expivi backoffice and create a new theme with the zip file.
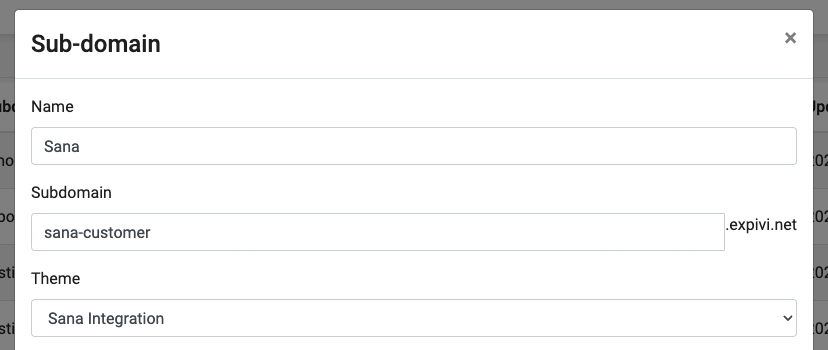
Lastly, create a new subdomain that uses the newly created theme. Fill in a new subdomain for your Sana plugin, and make sure to mark the subdomain as active.
Sana Plugin
After the Expivi Theme has been configured let's install the plugin from the Sana marketplace.
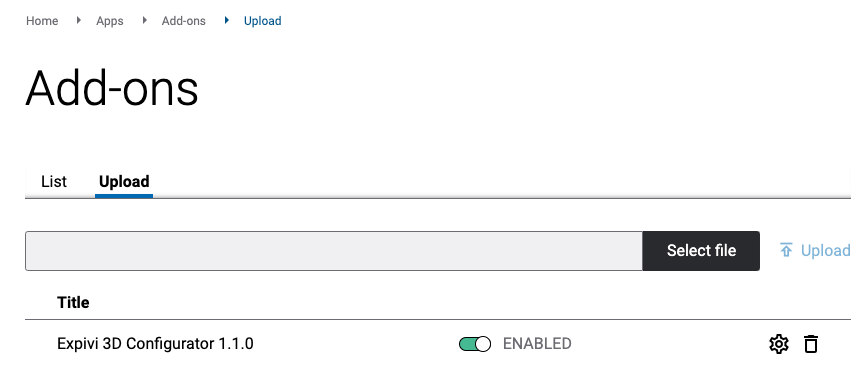
Go to the upload tab and click the cog wheel to configure the plugin. Here there are two fields to fill in:
- Webshop Domain
- Viewer Token
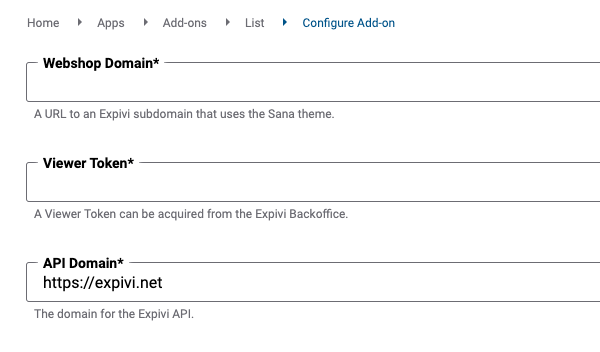
API Domain does not need to be modified unless you want to connect to another Expivi environment, for example for testing.
Webshop Domain
Fill in the complete URL with "https://" to the subdomain that was made before.
For example: https://sana-customer.expivi.net
Viewer Token
Create a new API key in the Expivi backoffice with the role of Viewer Token and copy the resulting key into this field.
Make sure to press "Save changes" before leaving the page.
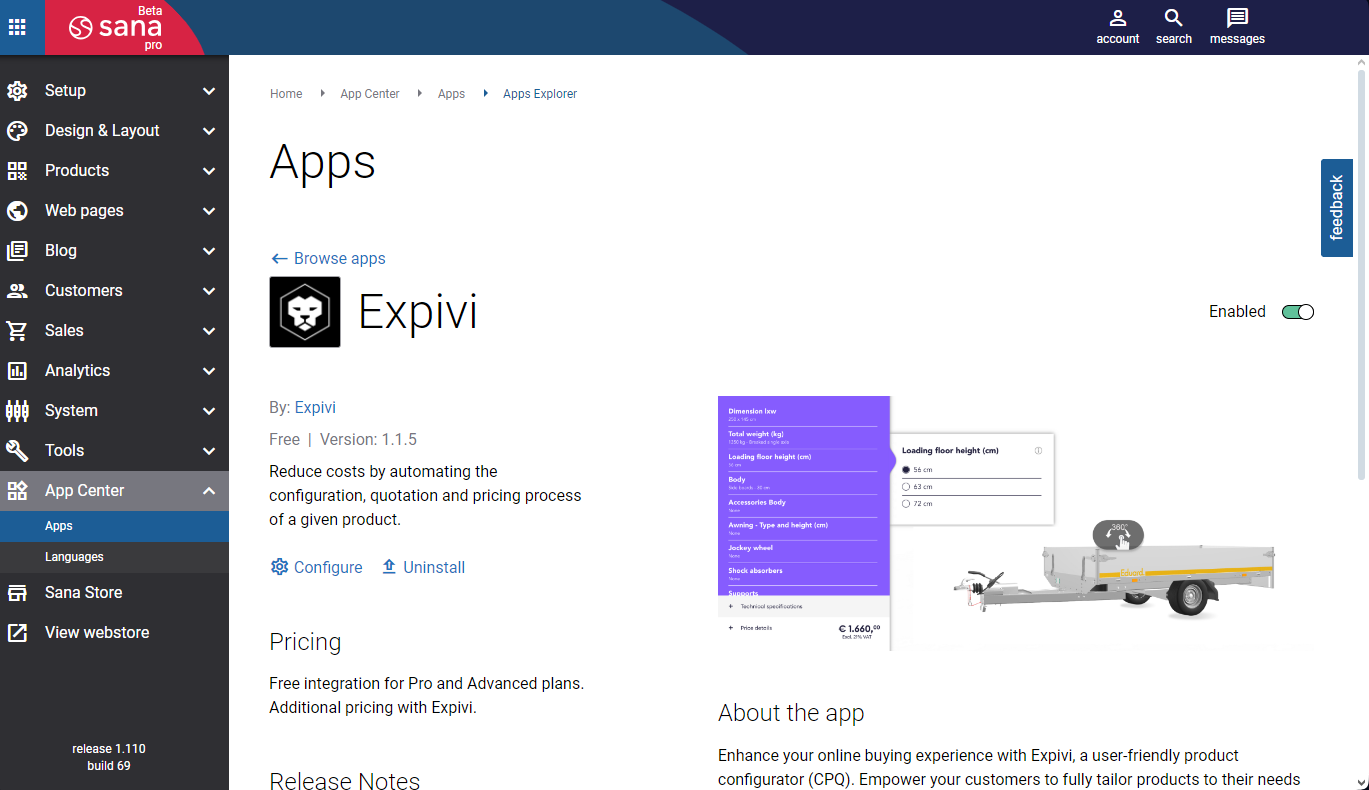
Make sure you enable the Expivi app after installing the app. Click on the Expivi app icon in the Apps Explorer and make sure the Enabled toggle is set to active.
