Connectors
Connectors are meant to provide user data for scripts in the form of a spreadsheet or HTTP call.
In this section, we will discuss what types are supported, how to use them, and best practices.
All connectors have their purpose/functionality and methods available to them.
Types
Spreadsheet
The spreadsheet connector allows you to upload a spreadsheet file (.xlsx, .csv, or .ods) in the Backoffice. This file can then be queried from your script to calculate things like pricing or SKUs.
When you initialize the connector, the first sheet is selected by default.
CSV Zip
The CSV Zip connector allows you to upload a zip with any number of CSV files, where each file is used as a sheet.
You can use the filename (with extension) with getSheetByName.
The CSV files are sorted alphabetically, the first file is selected by default.
HTTP
The HTTP connector can be used to request URLs configured in the backoffice.
You can set the URL, method, and headers.
Path parameters are also supported for dynamic URLs based on your configuration.
Path parameters work by prefixing a part of your path with a colon (:).
http://example.com/:type/rest/of/url
If a path param is not filled in before the request, the colon is removed from the URL before the request is executed.
For example, the above URL would become:
http://example.com/type/rest/of/url
HTTP Feed
Much like the HTTP connector, the HTTP Feed connector allows a URL to be retrieved,
but is meant to watch one endpoint that is constantly updating.
The result of the request is cached by Expivi between 5-60 minutes depending on the connector configuration.
There is no option to set the request method, the request has to be a GET request.
You can set the URL, timeout (between 5 and 60 minutes), and headers.
Path parameters are not supported here.
The connector configuration is not encrypted. Keep that in mind when putting OAuth or other keys in your URL or headers.
Query parameters are not supported on the URL in the configuration. You can add these inside the script.
Methods
Spreadsheet / CSV Zip
There are two methods that you can use in your script; getSheetByName and rangeToArray.
Check out the API documentation for the exact method syntax.
getSheetByName
This method allows you to swap between sheets in your connector and will return an instance of itself. This allows you to quickly swap sheets. Keep in mind that this sheet change is retained for future calls to the connector instance.
If the given sheet name is not found, the current sheet will remain null.
If you pass null to getSheetByName it will select the first available sheet.
rangeToArray
This method is used to query data inside the selected sheet.
The first parameter of this method accepts an Excel range string, like A1:A2, A1:B1 or A1:C2.
This method returns a matrix or array of arrays. With the query results.
For example, given the following sheet.
| A | B | C |
|---|---|---|
| foo | bar | baz |
| lorem | ipsum | dolor |
The following results show how ranges work with the returned matrix.
const result1 = connector.rangeToArray('A1:A2');

// result1
[
    ['foo'],
    ['lorem'],
];

const result2 = connector.rangeToArray('A1:B1');

// result2
[
    ['foo', 'bar'],
];

const result3 = connector.rangeToArray('A1:C2');

// result3
[
    ['foo', 'bar', 'bar'],
    ['lorem', 'ipsum', 'dolor'],
];
If you query rows or columns not available in your sheet, they will not be available in the result.
HTTP
setHeaders()
This method allows you to add one or more headers to the request.
It accepts an object of header names with their values.
connector.setHeaders({
    "Content-Type": "application/json",
    "Accept": "application/json"
});
setHeader()
This is an alias for setHeaders where you can only set one header at a time.
It accepts two parameters, the header name and the value.
connector.setHeader("Content-Type", "application/json");
setPathParams()
This method replaces one or more path parameters in the URL with a given value. If the given name is not found, nothing will happen.
Given the following URL, we will call setPathParams to replace the parameters.
http://example.com/:file/:type
connector.setPathParams({
    "file": "foo",
    "type": "bar"
});
The URL for the request will now be http://example.com/foo/bar
setPathParam()
This method is an alias for setPathParams where only one parameter can be replaced at a time.
connector.setPathParam("file", "foo");
request()
This method does the request to the given URL. You can provide query parameters as an object to the method.
connector.request({
    "foo": "bar",
});
The result of this method is a response helper object that has information like the body, status, and response headers. Check out the API documentation.
This process is synchronous and cannot be awaited unless wrapped inside a promise.
HTTP Feed
get()
Much like the request method of the HTTP connector, the get method allows you to retrieve the URI defined in the connector configuration.
Unlike the request method, the get method does not accept query parameters.
connector.get();
Using XML
XML is supported when calling json() on the response object. But there are a few things to keep in mind.
The response helper will only parse the body from XML if your URL ends with "xml" or if the Content-Type header contains "xml".
If your response is seen as XML, the XML object will be parsed into a JSON object.
Given the following XML file, the parsing is as follows.
<catalogue>
    <plant type="foo">
        <common>Bloodroot</common>
        <price currency="$">2.44</price>
        <availability>031599</availability>
    </plant>
    <plant type="bar">
        <common>Columbine</common>
        <price currency="$">9.37</price>
        <availability>030699</availability>
    </plant>
</catalogue>
{
    "plant": [
        {
            "common": "Bloodroot",
            "price": {
                "@content": "2.44",
                "@attributes": {
                    "currency": "$"
                }
            },
            "availability": "031599",
            "@attributes": {
                "type": "foo"
            }
        },
        {
            "common": "Columbine",
            "price": {
                "@content": "9.37",
                "@attributes": {
                    "currency": "$"
                }
            },
            "availability": "030699",
            "@attributes": {
                "type": "bar"
            }
        }
    ],
    "@root": "catalogue"
}
There are a few things to note here:
- The root element is placed in a property called
@root. - Element attributes are placed in a property called
@attributes. - Elements with a simple value and attributes put their value in a property called
@content. - All element values are parsed as strings.
Creating a Connector
Under the "Connectors" tab in the Script Engine section, there is an "Add" button. This button allows you to create a new connector, give your connector a name, and select the type of connector you want.
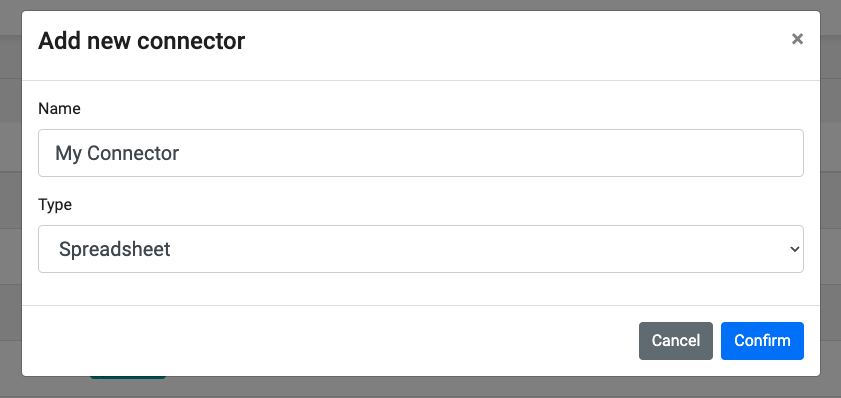
Press "Confirm" to create the connector.
Updating a Connector
In the table with connectors, there is a button "Manage" for each connector, that button opens a modal that allows you to update the connector.
Spreadsheet / CSV Zip
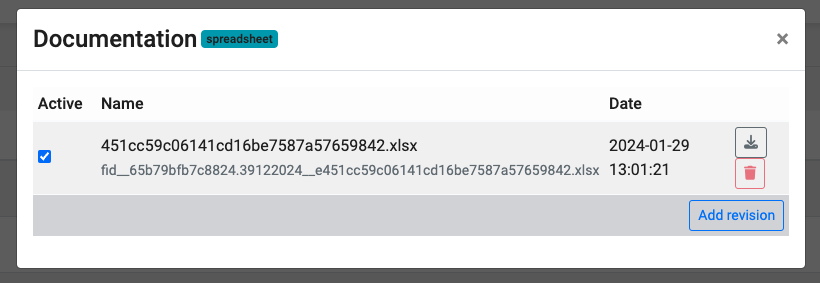
In the update modal for both Spreadsheet and CSV Zip connectors, you can download or delete any uploaded files but also upload new files.
The checkbox on the left side of the table determines the currently active file. This allows users to quickly swap and test files in their script.
HTTP / HTTP Feed
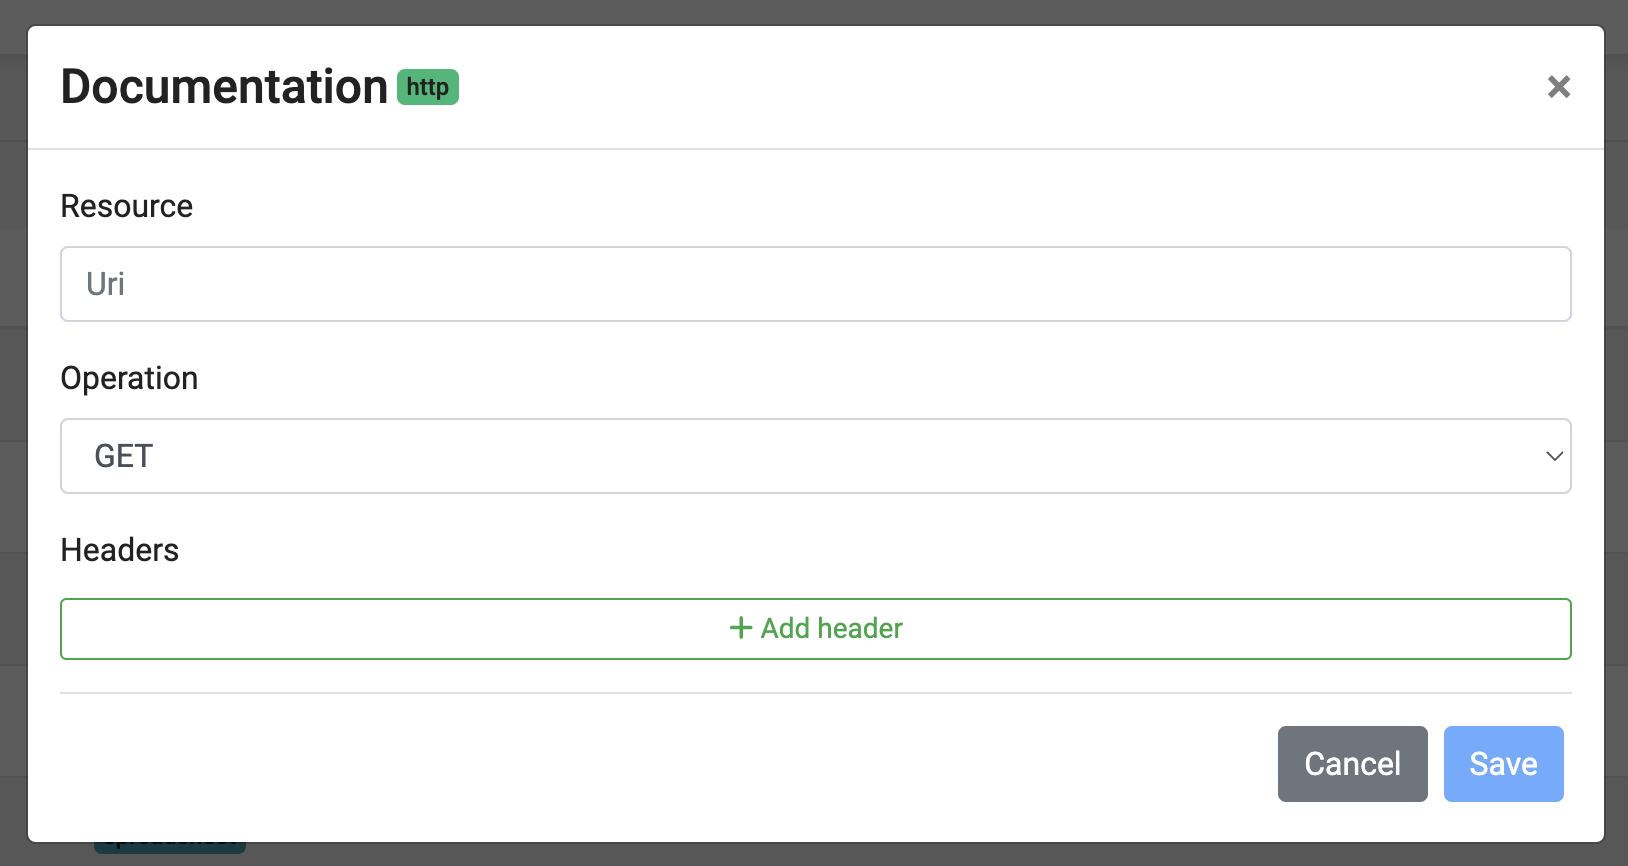
In the update modal of the HTTP connector, you can set the URL for the request (with path parameters), the request method and headers for the request.
Using a Connector in a Script
To use a connector in a script, you need to link it to a script first.
Navigate to the Script Engine section and click on the script you want to link the connector to. On the right-hand side, click on the "Connections" tab and then the "Add connector" button. From the dropdown select the desired connector and press "insert."
The connector is now available via the xpv.connectors.getByName() method.
Check out the API documentation for a more in-depth explanation.