Getting Started
Everything you will need to get the Expivi plugin up and running.
System Requirements
- WordPress: 5.3 or higher.
- PHP: 7.4 or higher.
- PHP extensions (required):
ext-dom.ext-json.ext-mbstring.ext-fileinfo.
- PHP config (highly recommended):
post_max_size=8Mor higher.
- PHP extensions (required):
Do not forget to check WordPress requirements first.
Prerequisite
- WooCommerce plugin: 4.5 or higher.
- Expivi account: Expivi plugin connects Expivi's 3D CPQ solution to Magento. As such, an active Expivi account with pre-configured product on Expivi is required. In case you do not have an account on Expivi yet, please contact us.
Installation
Step 1 - Installing the Plugin
Log in to your WordPress dashboard, navigate to the Plugins menu, and click "Add New." In the search field, type "Expivi" and click "Search plugins". Once you have found our plugin, install and activate it.
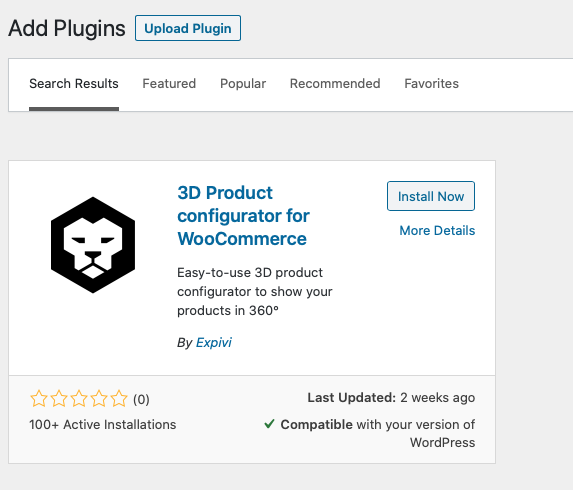
The plugin is now installed and ready to be configured. The next step is to connect the plugin to your Expivi account.
Step 2 - Updating the Expivi Settings
Once the plugin is installed and activated, it needs to be connected to your Expivi account using a token. Navigate to Settings → Expivi settings and open the General tab. The token can be inserted into the API Token field. Do not forget to click "Save changes" at the bottom of the page to save the changes!
The token can be acquired from our Backoffice.
Make sure to use an API key of type "Viewer Token" here, as it provides only read access. It is also recommended to enter your website's domain in the "Host" field to narrow the usability of the token.
The plugin is now installed and ready to be used. The next step is to connect a WooCommerce product to an Expivi product to enable 3D visualization.
Step 3 - Creating your First Product
Once the plugin is connected to your Expivi account, the last step is to connect a WooCommerce product to an Expivi product. Connecting the product will automatically change the product page, displaying a 3D visualization of the product and its configuration options.
Navigate to your WooCommerce product Products → All Products and select (or create) your product. Scroll to the Product data section and select the Expivi Product tab.
The Expivi Product Id field shows a dropdown of all your Expivi products configured in the Backoffice. Select the product you want to connect and save your changes by clicking the Update button (or Publish button for new products) in the Publish section. The Expivi product tab will contain a couple of other useful settings related to the product to customize the checkout experience. At the bottom of this section, a preview of your Expivi product will be shown.
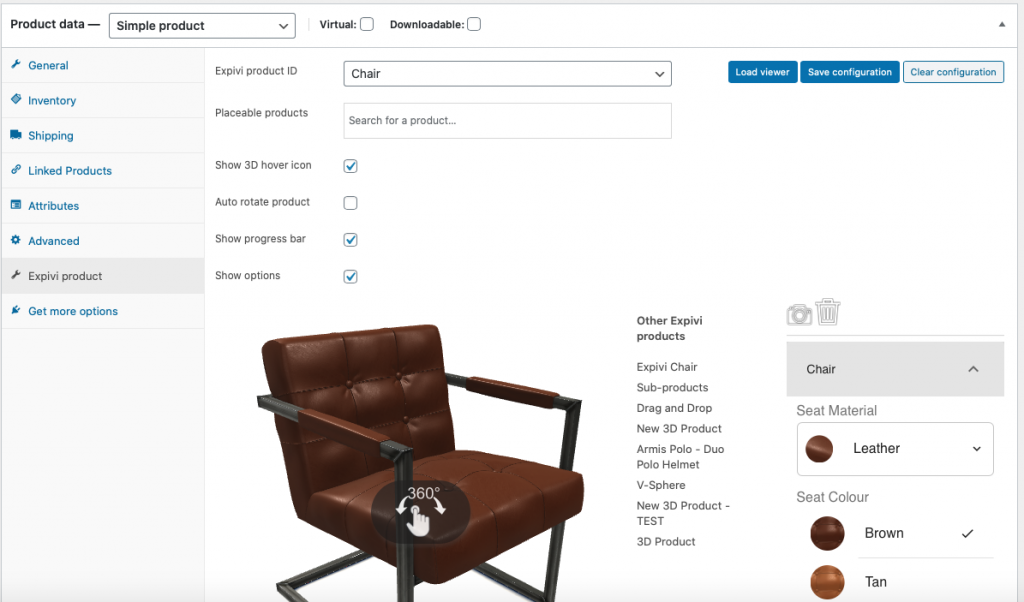
The product is now connected to the Expivi product, and the product page is automatically updated to show a 3D visualization of your product.