Localizations
Localizations define which languages are available for translatable fields across the backoffice such as product names, attribute labels, and BOM part descriptions. Adding a localization makes that language appear in the locale switcher on every translatable input.
Add a localization
- Go to Global Properties / Localizations.
- Click Add.
- Fill in the fields:
| Field | What it does |
|---|---|
| Language | Type to search and select from the list of supported locales (for example, English (United States) or Dutch). |
| Status | Active makes the language available in the locale switcher. Inactive hides it from editors without removing it. |
| Description | Optional note about this localization (for example, which markets it covers). |
- Click Save.
The localization now appears in the list and in the locale switcher on all translatable fields.
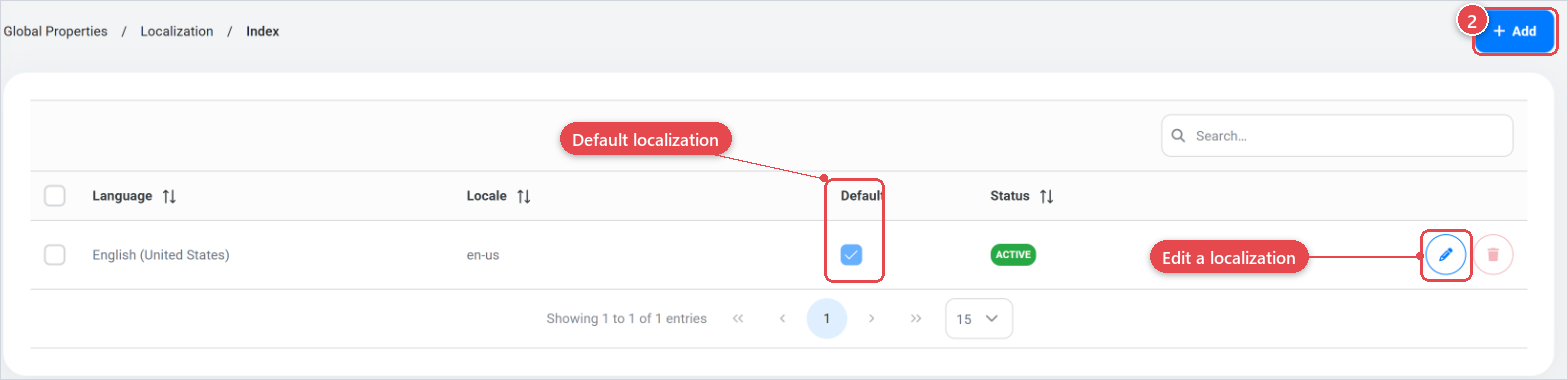
The Default localization
The list shows a Default column. The default localization is the fallback language shown when no translation exists for the active locale. The default localization cannot be deleted.
The default localization is set when your account is registered. You can't change it from the backoffice. The Default column only shows which localization is the default.
Edit a localization
- Click the edit icon on the row you want to change.
- Update the Language or Status.
- Click Save.
Delete a localization
Select the localization using the checkbox and click Delete in the action bar, or click the trash icon on the row. The default localization's delete button is disabled, you cannot remove it.
Deleting a localization removes it from the locale switcher. Any content already entered in that language is not automatically removed from existing records, but editors will no longer see that language in the backoffice.