Getting Started
We offer both an official public Shopify app and custom app solutions—however, they aren’t compatible with each other. No worries though! We’ll help you choose the option that fits your store best.
If you’re already an Expivi customer and want to integrate with Shopify, just drop us a quick email at [email protected] with your store name (like STORENAME.myshopify.com or admin.shopify.com/store/STORENAME).
We’ll take care of the rest and make sure you get the right setup for a smooth experience.
Our custom app works with any Shopify subscription.
Prerequisite
- Expivi account, preferably with a 3D product already set up
- Shopify custom app installation link (provided by Expivi, please request one by sending a message to [email protected])
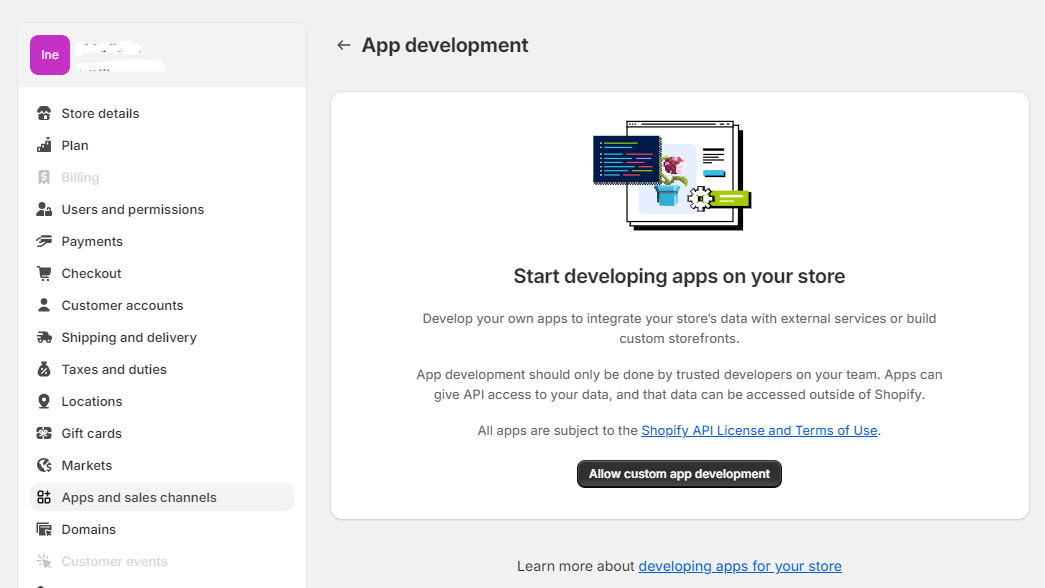
- Permission to install custom apps
Installation
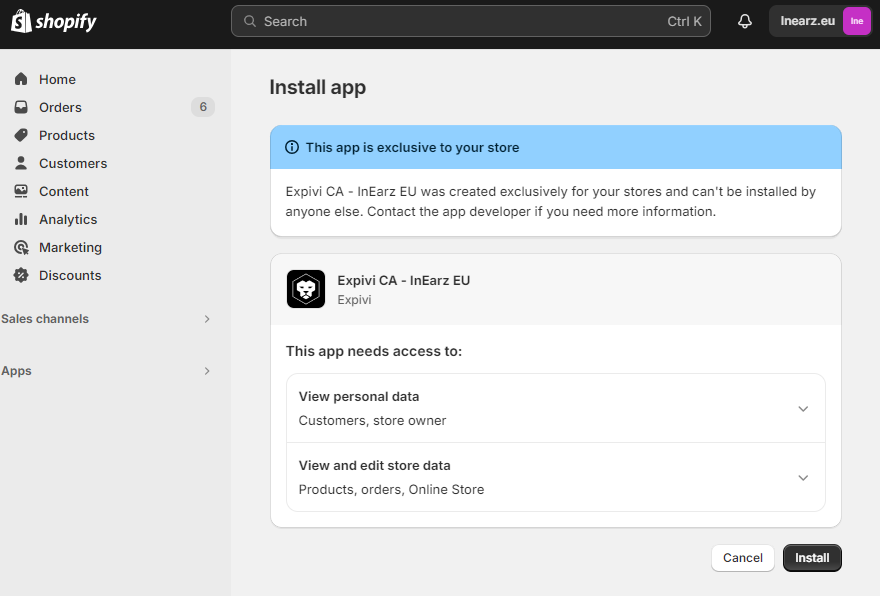
Step 1: Installing the Custom App
When you receive the installation link, login to your Shopify store and follow the installation link to install the custom app. If you have developer access to the Shopify store, make sure you have the necessary permissions to install apps and ensure that the "develop apps" setting is enabled. This setting can be found under Settings > Apps and sales channels > Develop apps.
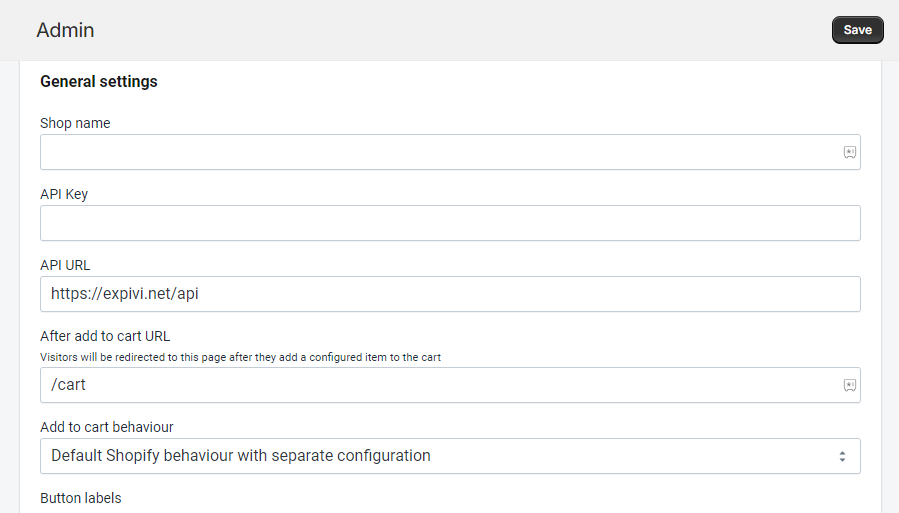
Step 2: Adding the API Key
Once the app is installed successfully, you will be redirected to the Expivi app settings.
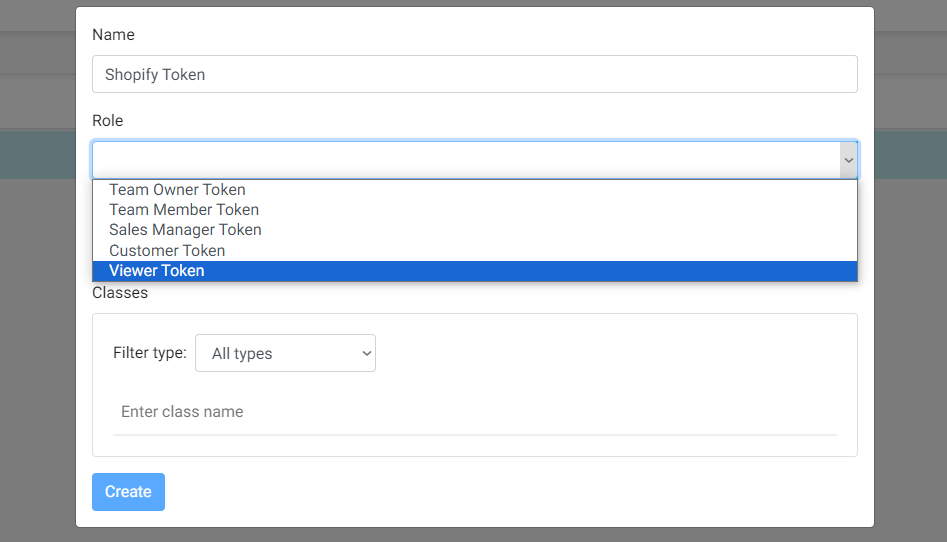
Log in to your Expivi account and navigate to Team > API Keys and click on the "Create" button in the top right corner to generate an API key.
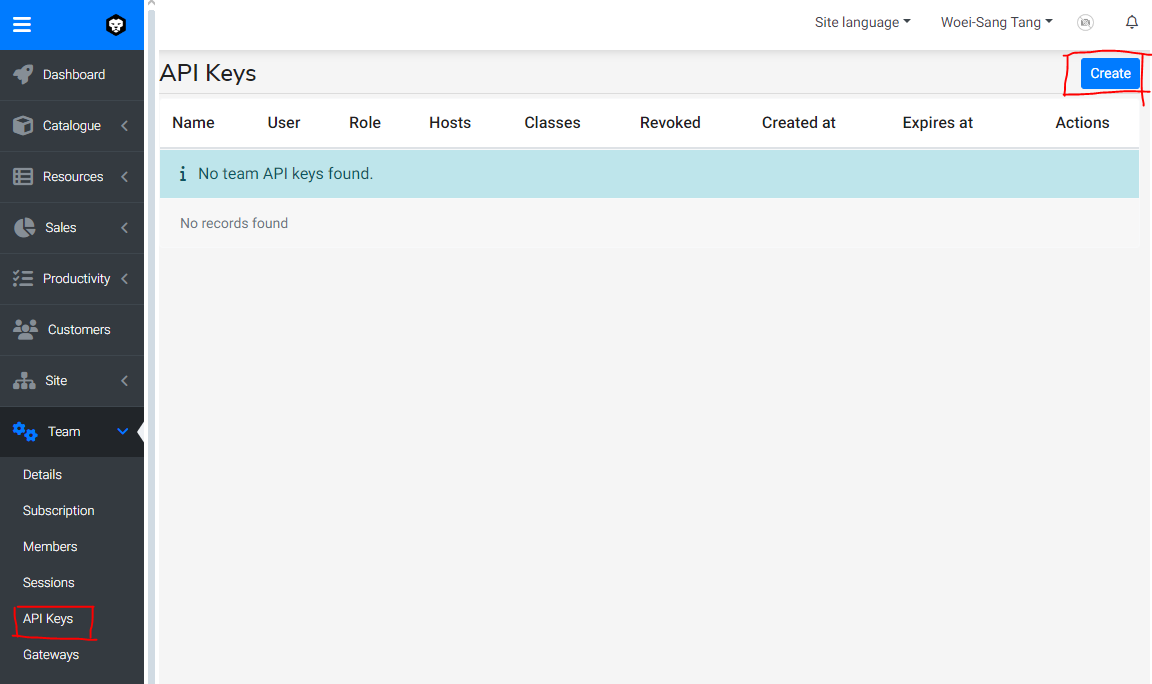
Give the token a descriptive name and make sure you choose the "Viewer Token" as Role as this provides only read access.
By entering the domain name in the Host field, it limits the use of the API token to this domain name. Don't forget to add the domain name of the Shopify admin area too (myshopify.com).
Example of the value for the Host field:
*.yourdomainname.com, *.myshopify.com
Copy the API key and paste it into the API key field in the Shopify App settings and click on the Save button.
The Expivi API key is only shown once. Create a new API key when you need one.
Step 3: Linking Products
Note: Make sure you have already set up your 3D product in Expivi and a Shopify product
In order to integrate Expivi's 3D configurator with your Shopify products, we need to create a connection between a single Shopify product and an individual Expivi product. This makes it possible to use the same 3D product with multiple Shopify products.
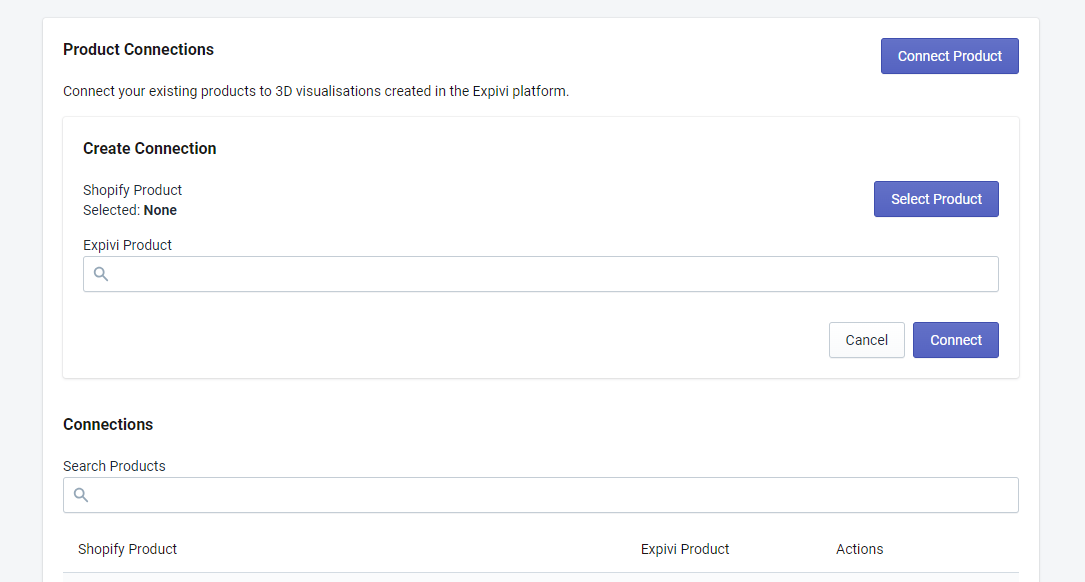
Go to the "Product Connections" section of the Expivi app settings, click on the "Connect Product" button and click on the "Select Product" button.
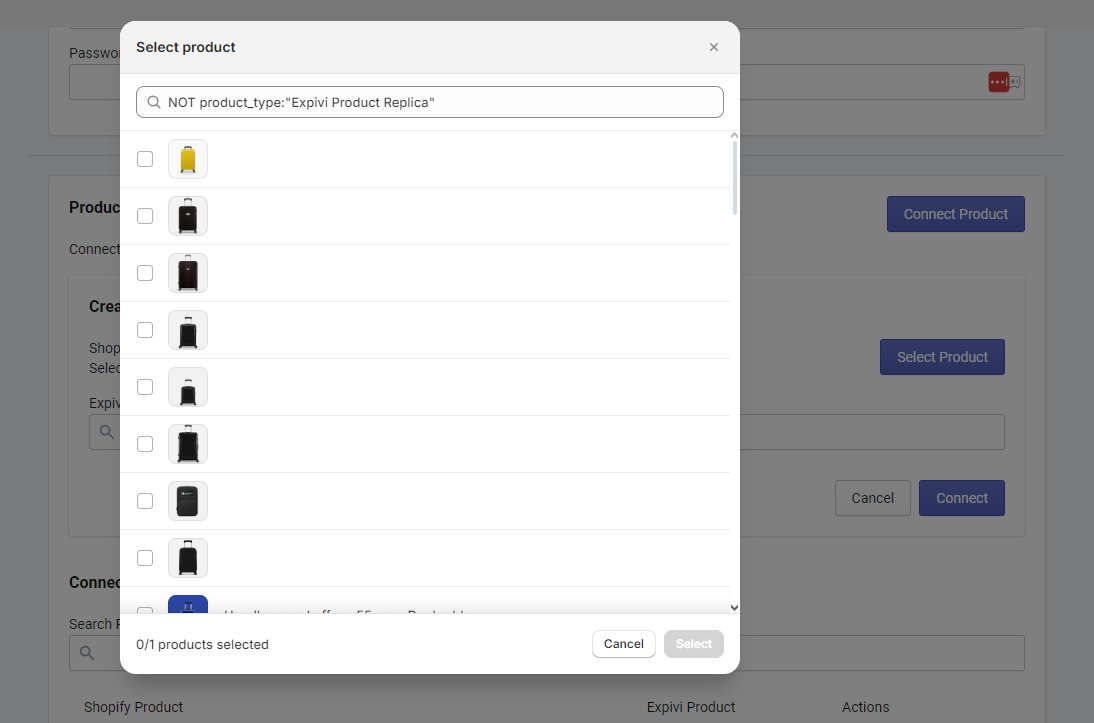
In the popup window, all existing Shopify products are listed. Choose the product you want to link the 3D product with and click on Select button.
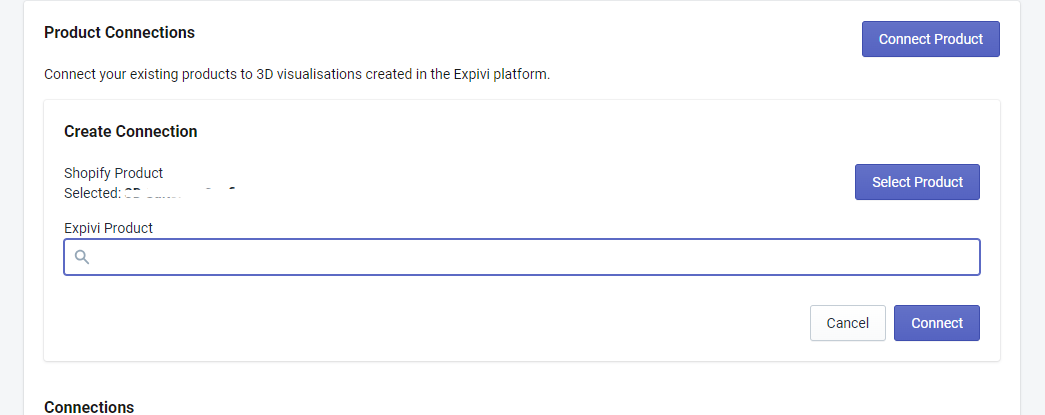
In the Expivi Product search field, search the name of the 3D product that is already set up in your Expivi account and click on the Connect button.
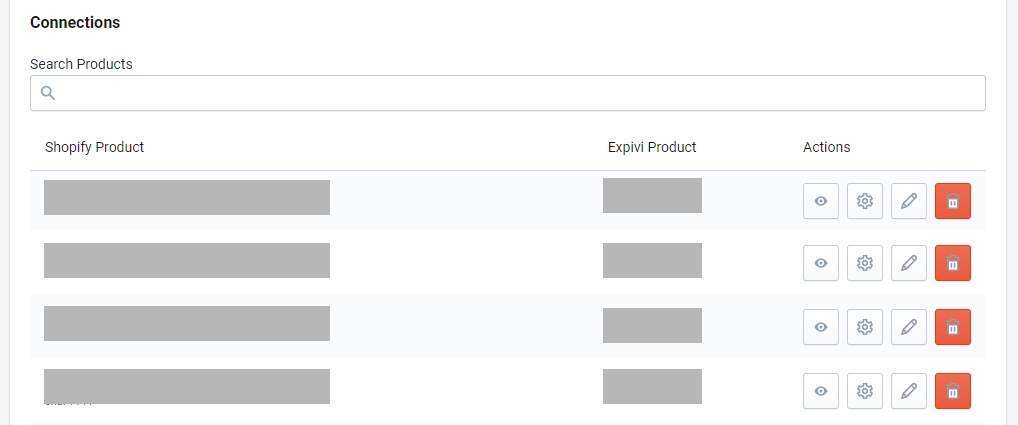
When the products are linked, it will appear in the Connections list. Clicking on the "Preview" button (with the eye icon), will open the 3D configurator.
The next step is to apply small changes to your Shopify theme to replace the standard Add to Cart button with a Configure button that leads to the 3D configurator and to showcase configuration details of the product in the cart page. Click here to learn how