Getting Started
Everything you will need to get the Expivi plugin up and running.
System Requirements
- Magento Open Source: 2.4 (current), 2.3 (obsolete)
- PHP: 7.4 or higher.
- PHP config (highly recommended):
post_max_size=8Mor higher.
- PHP config (highly recommended):
Do not forget to check Magento requirements first.
Prerequisite
- Expivi account: Expivi plugin connects Expivi's 3D CPQ solution to Magento.
As such, an active Expivi account with pre-configured product on Expivi is required.
In case you do not have an account on Expivi yet, please contact us.
Installation
Step 1 - Installing the Plugin
Plugin acquisition
Purchase the plugin at the Magento Marketplace. This plugin is offered for free.
Installation Steps
You can install the plugin either through the archived zip file of Expivi plugin or through Composer.
Please follow Step 1.1 or Step 1.2 for preferred method.
Step 1.1 - Installation Through Zip File
You do not have to follow this step if your preferred method of installation is through composer Step 1.2
-
Download the Extension:
Grab the Expivi extension zip file from your purchased order.
-
Unzip the File:
Unzip the file to a local directory, so you can upload the content to your server.
-
Connect to Your Server:
Use an SSH client to connect to your server.
-
Navigate to Magento Root Directory:
Change to the directory where your Magento installation is located. For example:
e.g. navigate to magento root directorycd /path/to/your/magento -
Create a Directory for the Extension
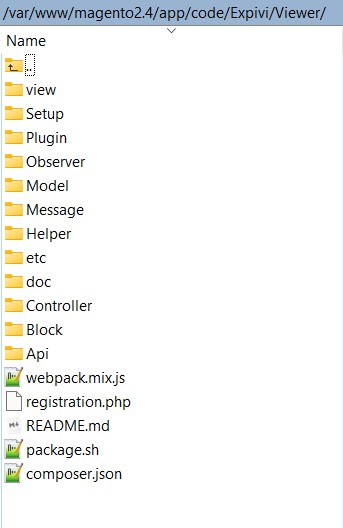
Create Expivi/Viewer directory path under app/code. So, the full directory will look like following:
e.g. module full path/path/to/your/magento/app/code/Expivi/Viewer
Please make sure to change the /path/to/your/magento with your actual Magento installation path.
-
Upload the Extension Files to Your Server:
Upload the Expivi extension files which you have extracted in step 2 to your Magento server. You can use scp or any other preferred method.
The final folder structure should look something like following:
-
Enable the Extension:
Run the following command to enable the extension:
enable Expivi modulephp bin/magento module:enable Expivi_Viewer
Step 1.2 - Installation Through Composer
You do not have to follow this step if you have followed Step 1.1
-
Connect to Your Server:
Use an SSH client to connect to your server.
-
Navigate to Magento Root Directory:
Change to the directory where your Magento installation is located. For example:
e.g. navigate to magento root directorycd /path/to/your/magento -
Run Composer Install Command
Run the following command to install the extension through composer:
composer installcomposer require expivi/magento-viewerEnter your access key, you can find them here
Checkout the Adobe's official documentation for more information or trouble shooting.
Step 2 - Update Magento
-
Run Setup Upgrade:
Run the following command to update the database schema and data:
Setup upgradephp bin/magento setup:upgrade -
Deploy Static Content (If needed):
If your Magento store is in production mode, deploy static content with the following command:
deploy static contentphp bin/magento setup:static-content:deploy -
Flush Magento Cache:
Flush the cache with the following command:
flush cachephp bin/magento cache:flush
Step 3 - Updating the Expivi Settings
Once the plugin is installed and activated, it needs to be connected to your Expivi account using a token. Navigate to Stores → Configurations → Expivi and open the Viewer tab. The token can be inserted into the API Key field. Do not forget to click "Save changes" at the top right of the page to save the changes!
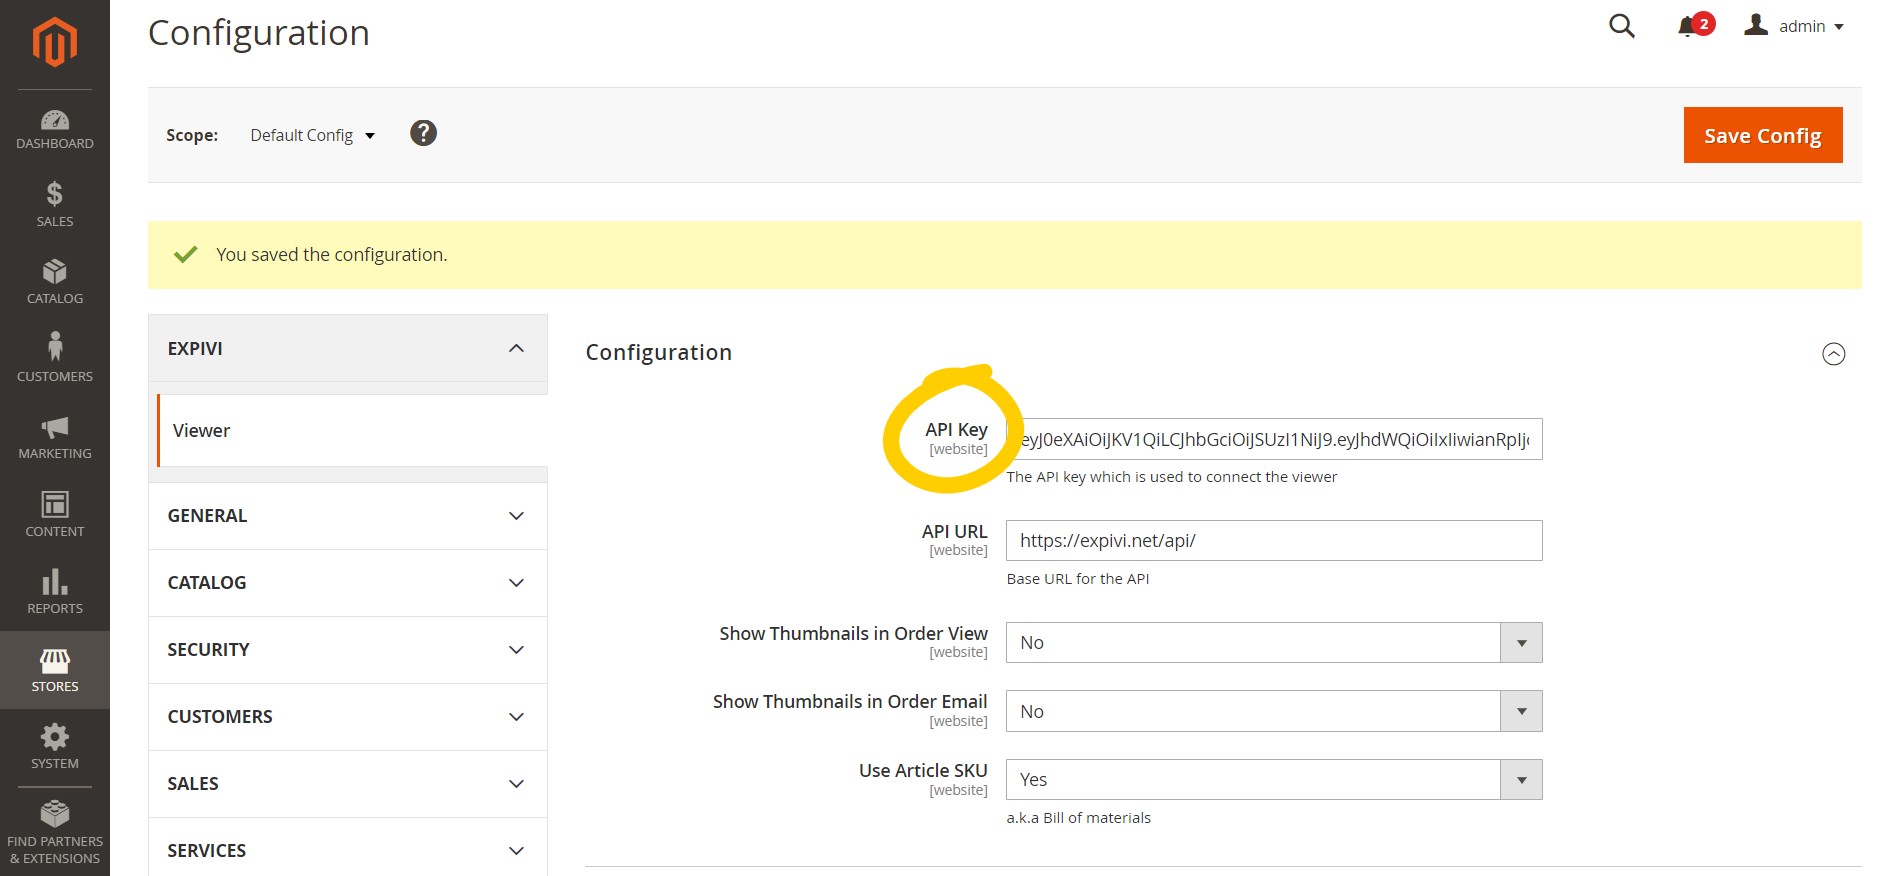
The token can be acquired from our Backoffice.
Make sure to use an API key of type "Viewer Token" here, as it provides only read access. It is also recommended to enter your website's domain in the "Host" field to narrow the usability of the token.
The plugin is now installed and ready to be used. The next step is to connect a Magento product to an Expivi product to enable 3D visualization and configuration.
Step 4 - Creating Your First Product
Once the plugin is connected to your Expivi account, the last step is to connect a Magento product to an Expivi product. Connecting the product will automatically change the product page, displaying a 3D visualization of the product and its configuration options.
Navigate to your Magento product Catalogue → Products and select (or create) your product.
The supported Magento product types are "Simple product" and "Bundle product". For most use cases, the Magento product type should be a "simple product". Read more about bundle product here.
Scroll to the Expivi Product Id field on product edit page.
Copy the Expivi Product Id from the Backoffice and paste this in "Expivi product Id" field.
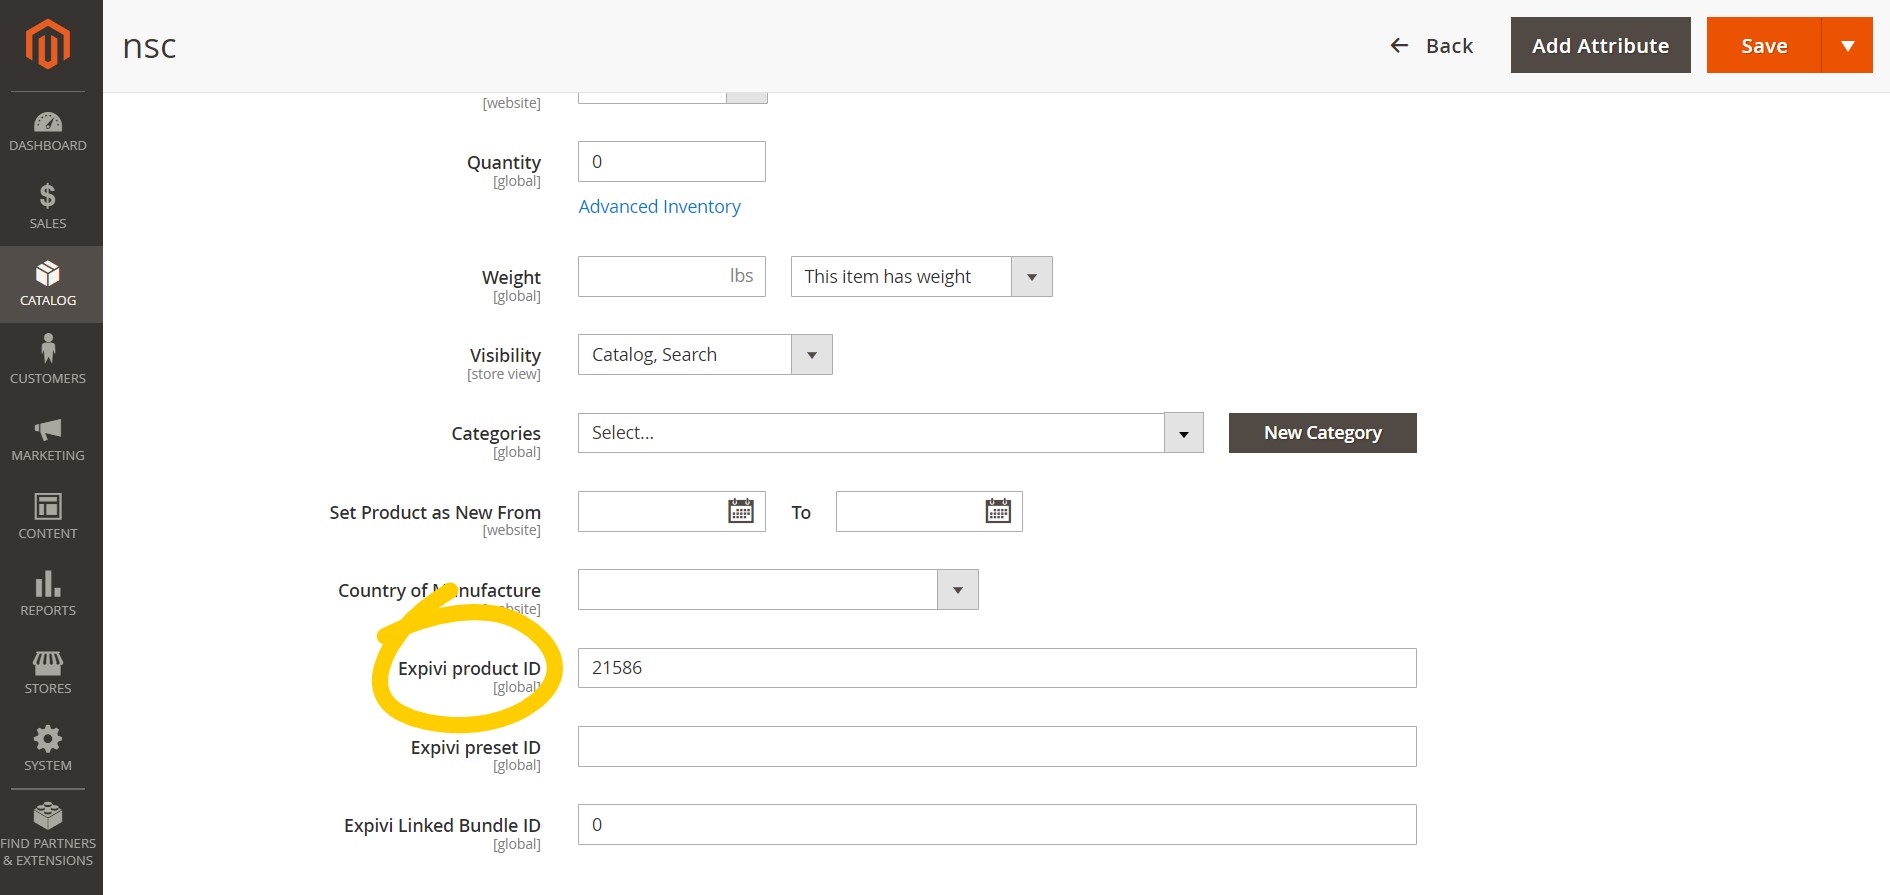
The "Expivi preset Id" and "Expivi Linked Bundle Id" fields will be explained in Product Configuration section.
The product is now connected to the Expivi product, and the product page is automatically updated to show a 3D visualization of your product.